

How to Properly Wrap Dining Chairs for a Safe Move
Posted on: Thursday, January 22nd, 2026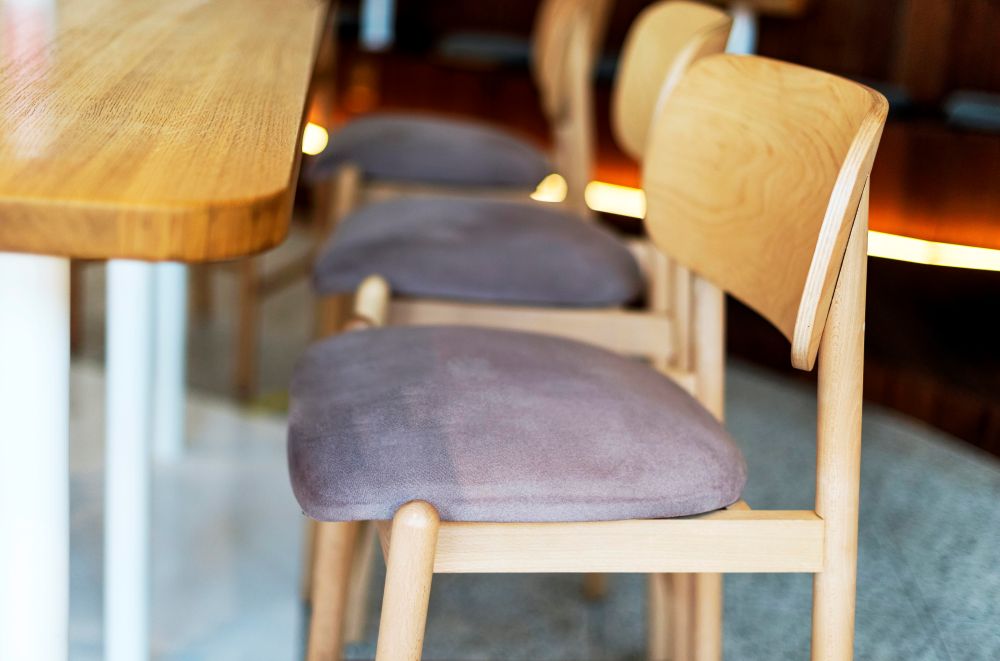
Dining chairs can get scratched, dented, or broken easily during a move if they’re not wrapped correctly. Taking a few extra minutes to protect each chair saves you from having to deal with damage later. Leading movers follow a simple process that covers everything from inspection to labeling. This guide breaks down the steps you need to wrap your dining chairs the right way. You’ll learn how to assess, disassemble, pad, wrap, and label each piece for a smooth move.
Assessing Chair Condition
Before you start wrapping, take a close look at each dining chair to spot any weak points. Check for loose joints or screws that need tightening. Look at the legs for stability and any visible damage. Go over the seat and backrest for cracks, chips, or soft spots that could get worse during the move. If you find any problems, fix them before wrapping so you don’t make things worse in transit. A quick inspection of each chair puts them in the best condition for moving and reduces surprises when you unload.
Gathering Supplies
Having the right supplies on hand speeds up the wrapping process. You’ll need quality moving blankets or furniture pads to protect the chairs from scratches and dents. Keep plenty of stretch wrap or plastic wrap nearby to hold everything in place. Bubble wrap works well for added protection on delicate chair legs or detailed designs. Grab some moving straps or tape to secure the blankets, then wrap them tightly in bubble wrap. A marker for labeling each wrapped chair helps with easy identification when you unpack. With these supplies ready, your dining chairs stay safe the whole way.
Disassembling Chairs
Start by looking at each dining chair to figure out the best way to take it apart for moving. Here are the key steps to get it done:
- Remove Seat Cushion: Find the screws or bolts underneath the seat cushion and use the right tool to detach it.
- Unscrew Legs: Look for screws connecting the legs to the chair frame and carefully remove them.
- Separate Backrest: If the backrest detaches, unscrew or pull it off to make the chair easier to move.
- Label Parts: Mark each part or keep the hardware in a labeled bag so reassembly goes smoothly.
Padding and Securing Legs
Make sure the legs have enough padding to prevent scratches or damage during the move. Start by wrapping each leg with bubble wrap or furniture blankets. Tape the padding in place so it doesn’t slip during transportation. For extra protection, place cardboard pieces over the padded legs and tape them down. This extra layer shields the legs from bumps and knocks along the way. Pay attention to any protruding parts or fragile areas on the legs. Proper padding keeps your dining chair legs in good shape when they arrive.
Wrapping Backrest and Seat
Wrap the backrest and seat with a thick layer of cushioning material, such as bubble wrap or furniture blankets. This step keeps these parts from getting damaged during transportation. Here’s how to do it right:
- Lay the cushioning material flat on a clean surface.
- Place the chair upside down on the cushioning material.
- Wrap the backrest first, making sure you cover it completely with enough padding.
- Move on to the seat, tucking in the edges tightly.
Following these steps protects the backrest and seat from damage while in transit.
Final Securement and Labeling
Use strong packing tape to securely seal the wrapped dining chairs. Apply tape along all seams and edges of the protective covering to stop any shifting during transport. Label each chair with a marker or sticker showing what’s inside and which room it goes to. This small step speeds up unloading and unpacking at your new place. Be specific and clear with your labels to avoid confusion later. Put the labels somewhere visible on each chair for quick identification. Securing and labeling your wrapped dining chairs helps the whole moving process run more smoothly.
Related Topics: